Hello Hacker
I was trying to learn the basics of Android Penetration Testing for some time, but the setup was very difficult. I was getting more errors than I can count. It was very frustrating. But finally, I was able to set up everything the way I want and it is working smoothly right now. In the meantime, I was taking notes just so that it can help me in the future. I had no intention of making this public but I felt that maybe others are having the same issues. That's why I decided to summarize the setup process here in this blog post. It might look simple but believe me I have already wasted enough time on this. I hope this guide helps you to save your time while setting up things for Android Pentration Testing.
So let's begin, shall we?
My host machine is having Windows 10 OS and an i5 processor. In this guide, I am going to use Genymotion emulator where we will run android apps, Kali VM for installing android tools, and some tools for Windows as well. I am not going to give you baby steps. Just going to give you an overview so that you will save your time during the process.
Step 1. Download and install Virtualbox in your windows system. I suggest using the latest version.
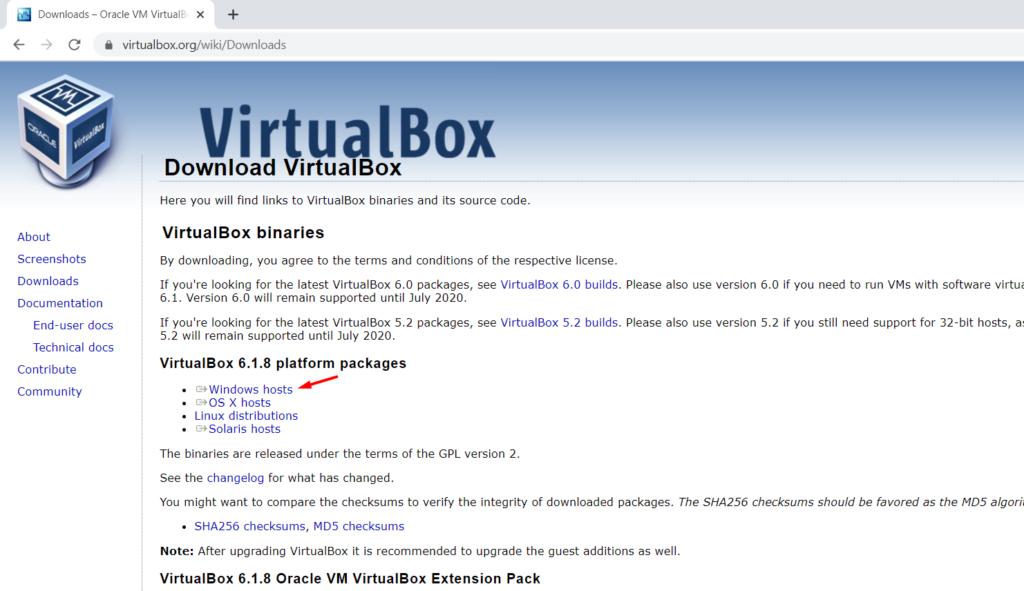
You will also need to install Virtualbox Extension Pack specific to the Virtualbox version you are using.
Step 2. Download Kali linux VirtualBox image from here.
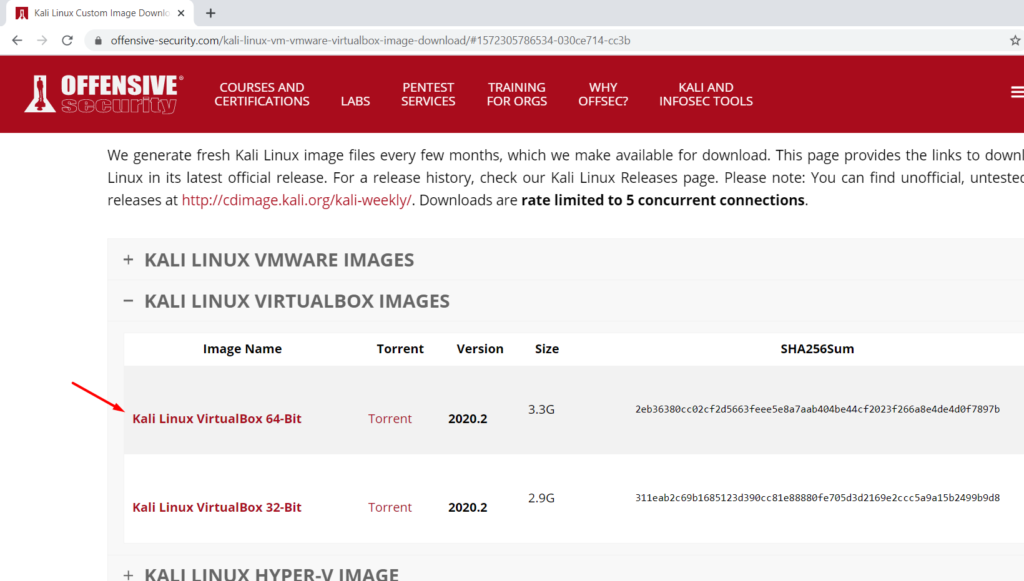
I prefer kali over ubuntu as some of the tools I love come preinstalled and for VM, kali is always a better option. So this guide is based on that.
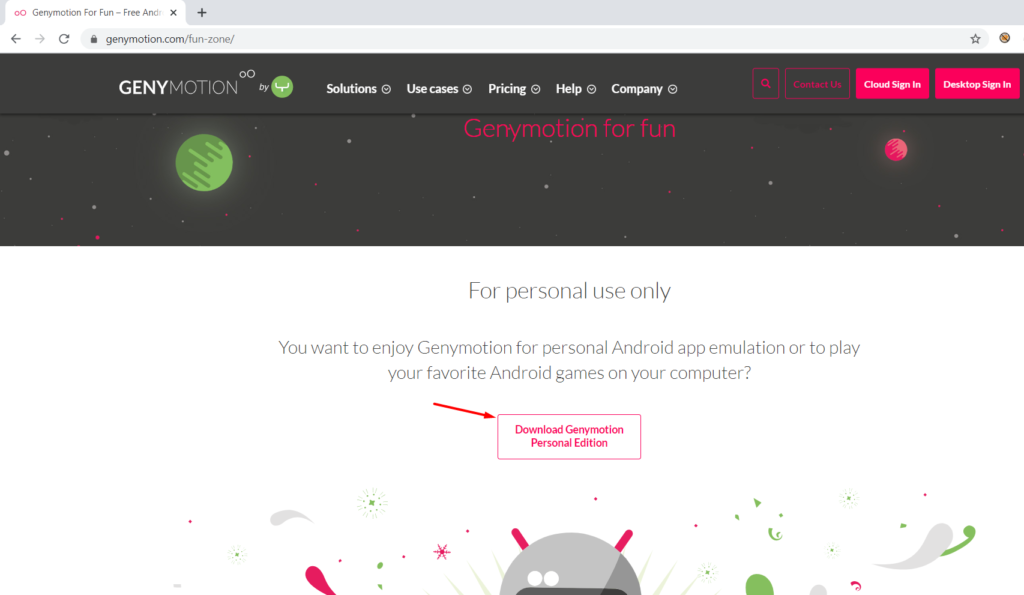
Step 3 Download and install genymotion free version from here.
After Genymotion is installed, select Custom Image for Android API 8.0.
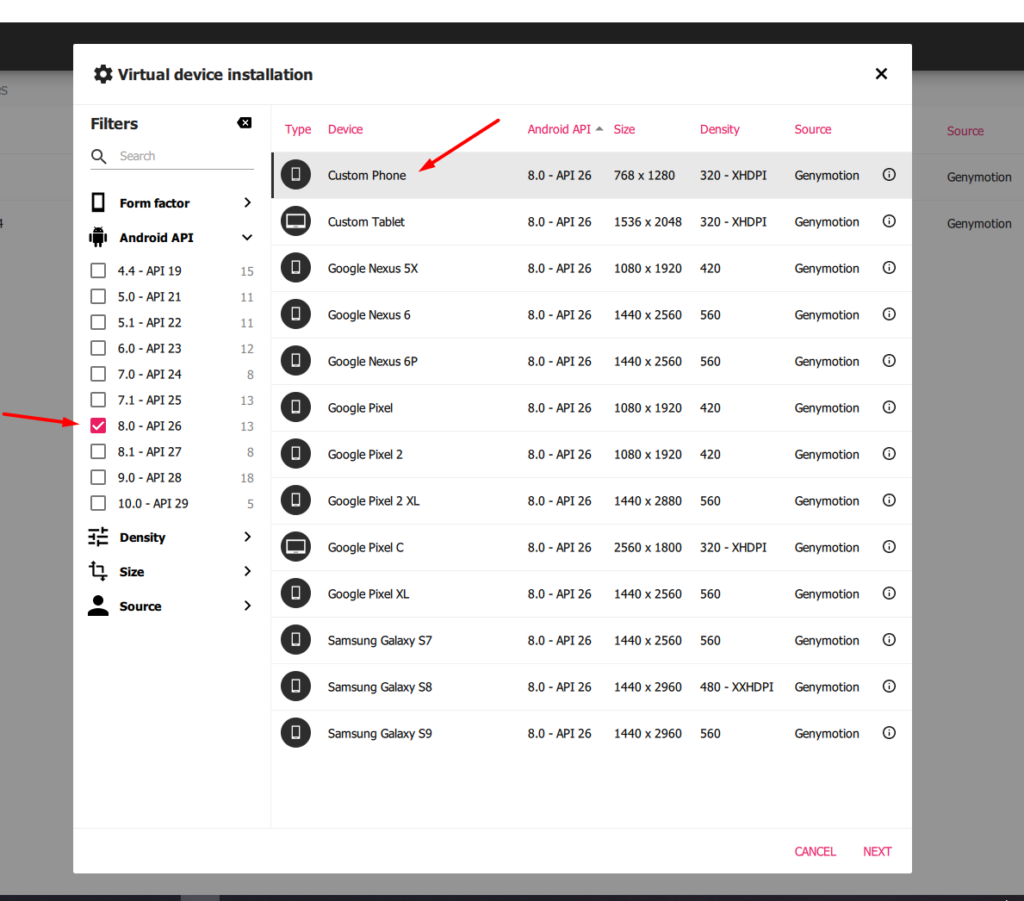
The reason to use this specific api is most of the latest android apps will support it.
Step 4. Download opengapps nano package from here specific to Android 8.0.
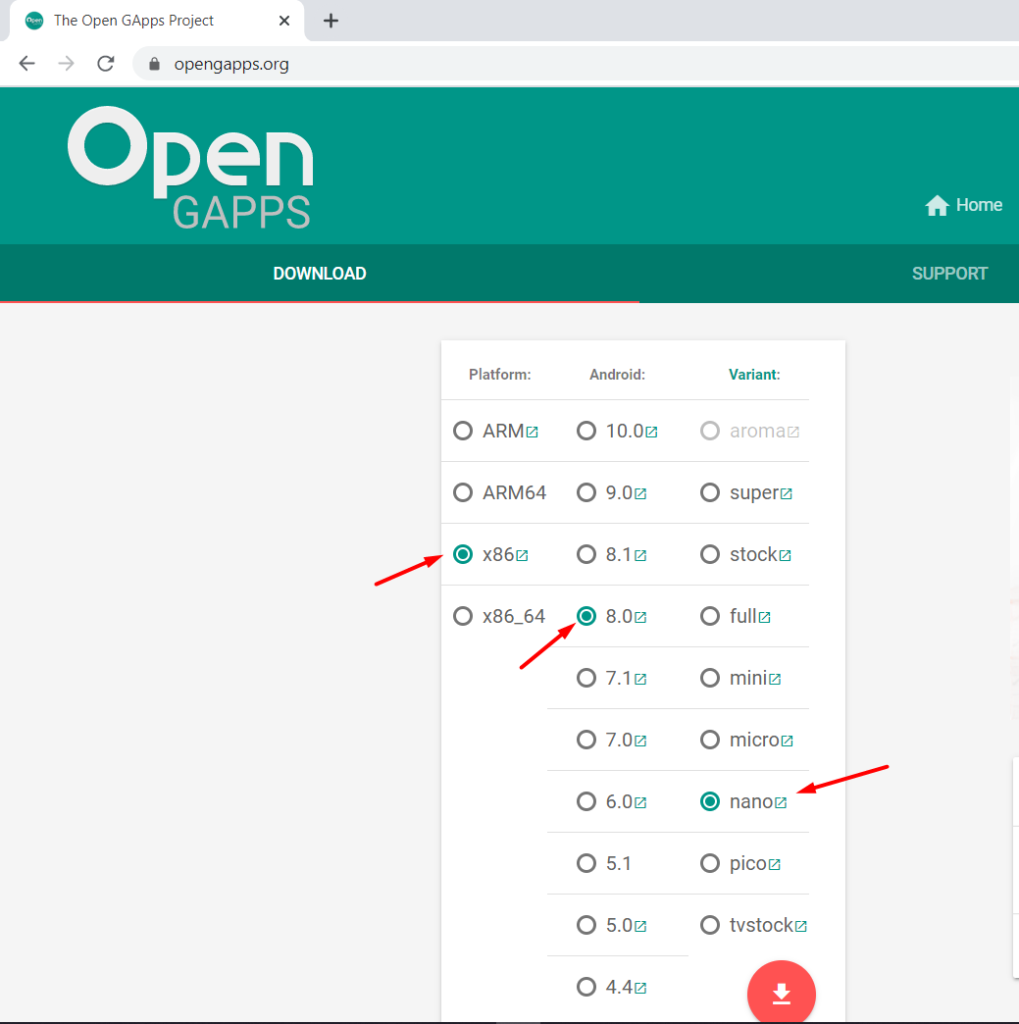
So we don't get buzzed by errors such as Google PlayStore not found. Also download arm translation package for genymotion from here.
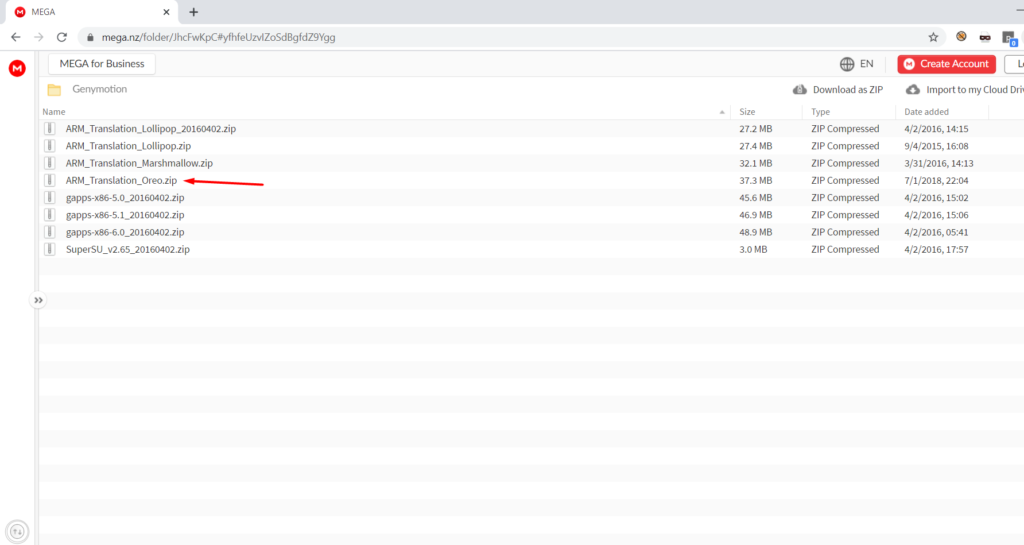
For Android 8, you will need to download the oreo package. We need this for some apps that will fail to install otherwise. So better set these things right now.
Step 5. To boot the Kali ISO just open it. Few clicks and it is ready to use.
At this point, your Kali VM and emulator should be installed and ready to go. These were very basic things.
Step 6 Now drag and drop gapps package zip file onto the emulator and install it. Reboot the emulator and then drag and drop the arm translation package zip file also and reboot.
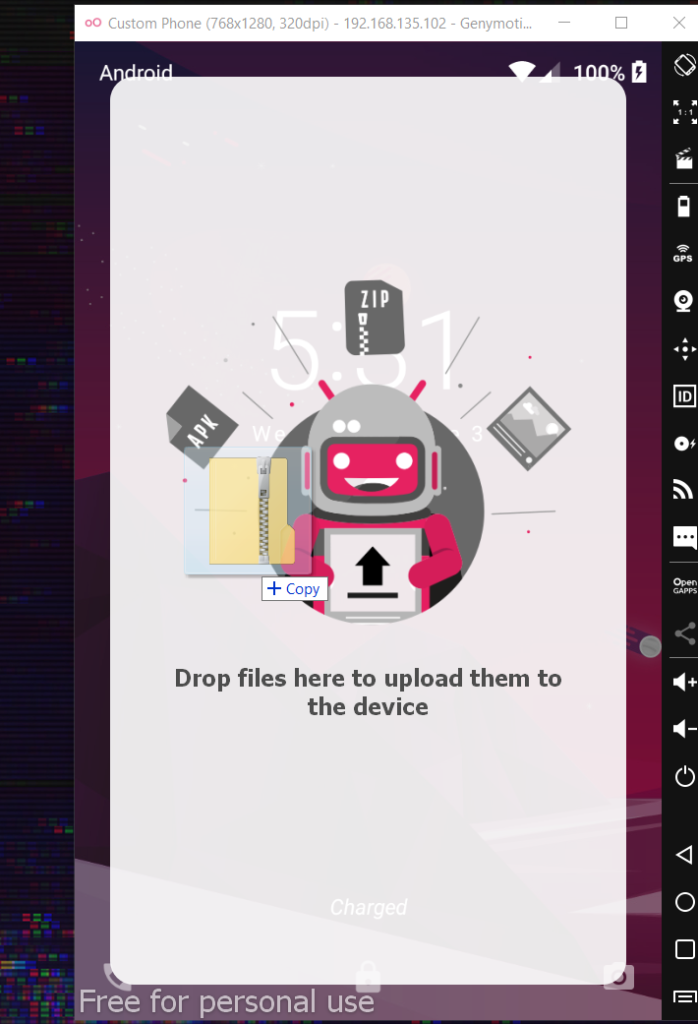
To me, reboot means closing the emulator window and starting again using the genymotion. I am still trying to learn things.
Our emulator won't give us any more problems from now on.
Boot the Kali VM and login into the default kali:kali account. Run following commands to install adb and apktool
 sudo apt-get update
sudo apt-get install adb 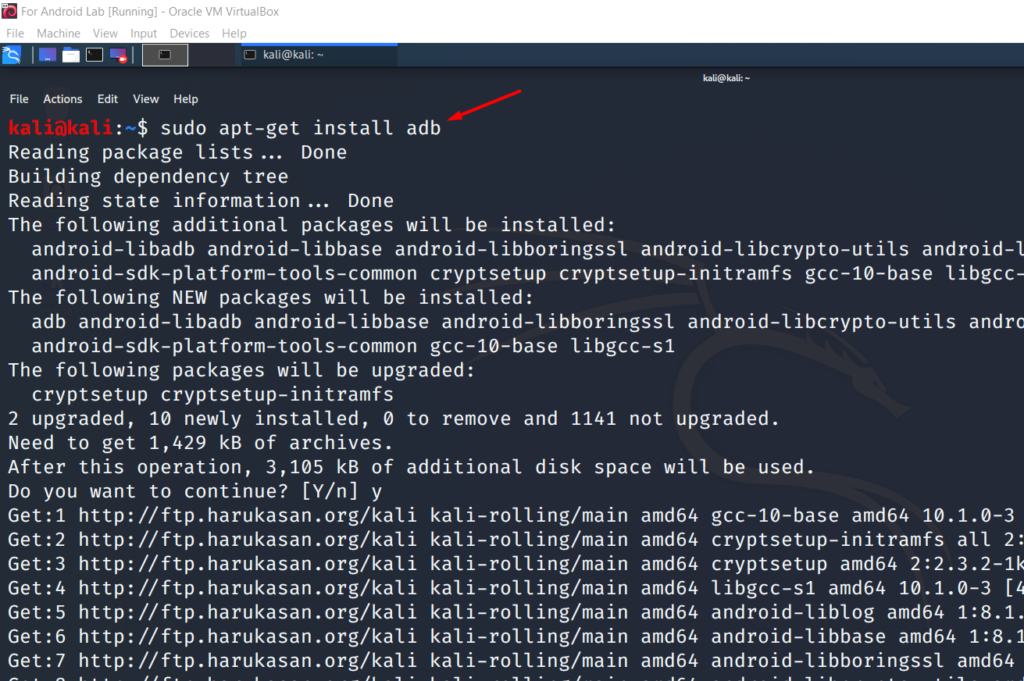
sudo apt-get install apktool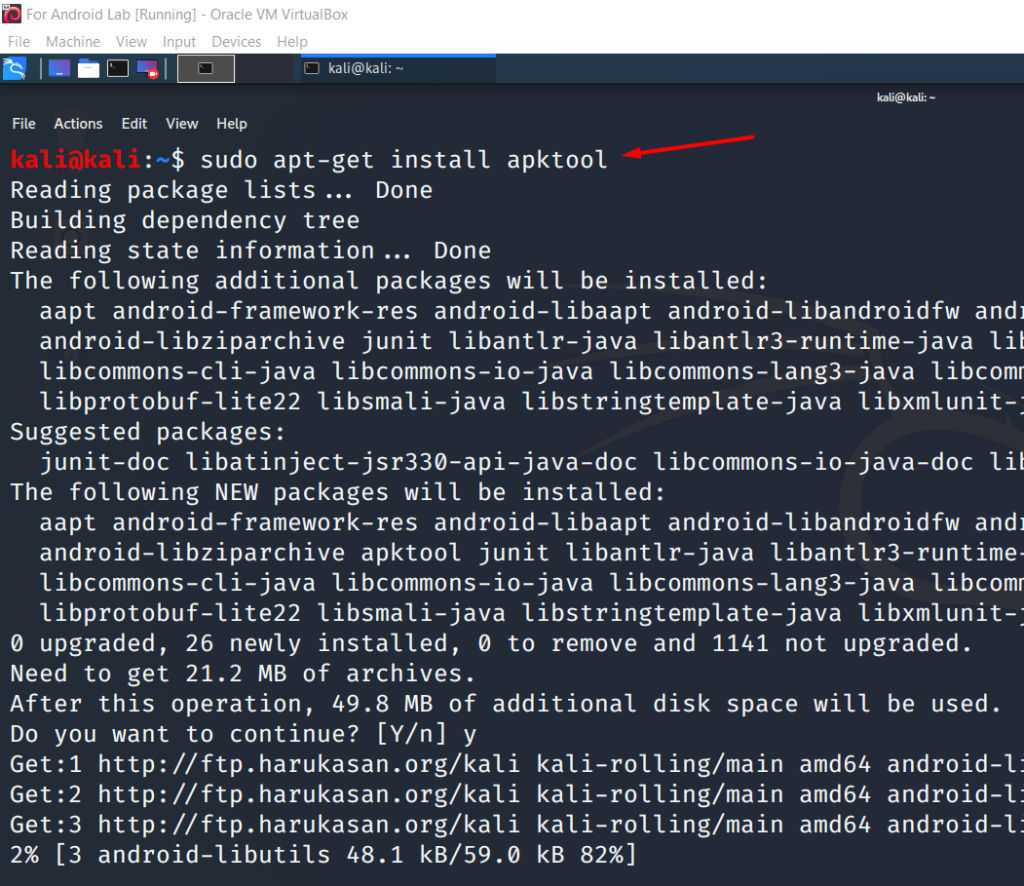
Now Kali VM is setup with minimal tools that we will need.
You can download the Jadx exe for Windows from here.
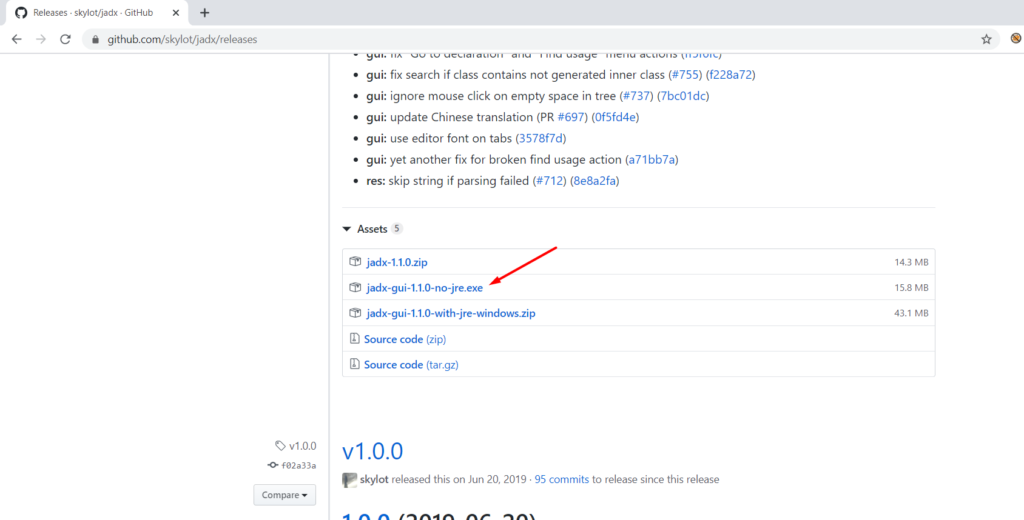
Jadx is primarily used to produce java source code from Android apk file. It's a great tool and from time to time you will need this just to read and understand the behavior of the APK you are testing.
Let's connect our emulator to Kali via adb.
First, we need to change the network settings of Kali VM from Virtualbox like below


Now for Kali to connect to genymotion via adb, both need to be in the same ip range. Check ip address of Kali vm and change it if necessary. To change the kali ip use below commands.
Command: sudo ifconfig eth0 192.168.135.101
And then try to connect using adb
adb connect 192.168.135.102
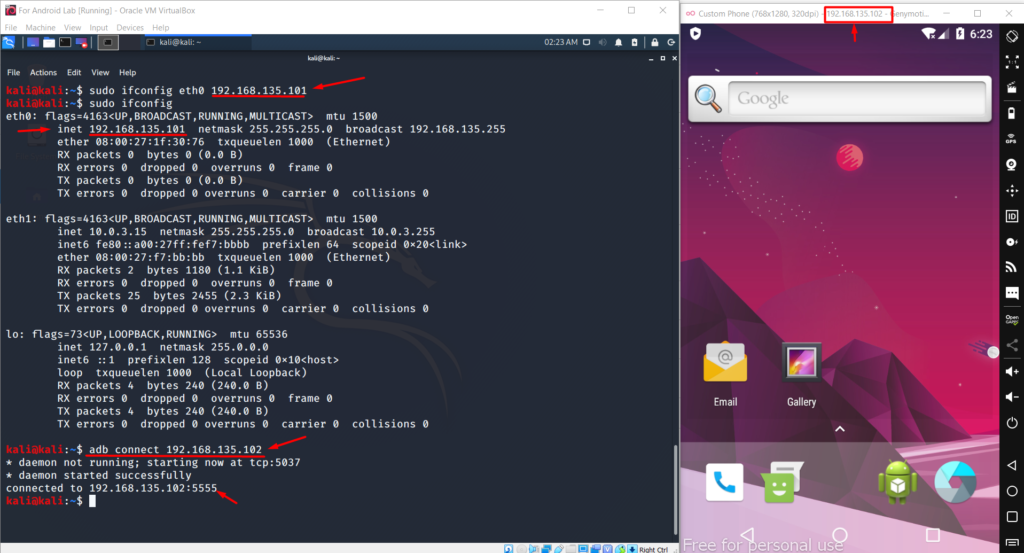
So we have successfully connected to emulator over adb. So all good right now.
Next thing I suggest you do head over b3nac github and get your hands dirty with InjuredAndroid project. It is a very cool CTF like app and I believe he has put some nice efforts so that we can learn about android penetration testing basics. Download the app and push it via db. Just dive deep into getting those flags without looking at the solutions. And you will learn more about the android exploitation techniques.
I hope it helps you in some way. Feel free to connect with me on twitter @dark_warlord14 if you get stuck somewhere. Also please read my other writeups about Scanning JS files for Endpoints and Secrets. and ffuf on Steroids.
Happy Hacking until next time!!